How to Stop a Toilet From Running
Toilets are a crucial part of our daily lives, and any issues can be inconvenient in the extreme. One of the more frequent complaints from homeowners is a “running toilet”, which is when the water runs even when the toilet is not in use. This isn’t just wasteful and irritating, but it can also lead to much higher water bills.
If your toilet won’t stop running, several issues could be the cause, including a faulty fill valve, flapper, flapper chain, or float cup. These components work together to regulate the flow of water from the toilet tank to the bowl and control its operation.
The good news is that these parts can all be replaced with basic tools, a little bit of time, and a dash of know-how. Read on as we discuss how you can troubleshoot and repair these common issues for good!
Contents
Why Is My Toilet Running?: Key Takeaways
- The normal flush cycle is controlled by several components, any of which can fail and result in your toilet constantly running.
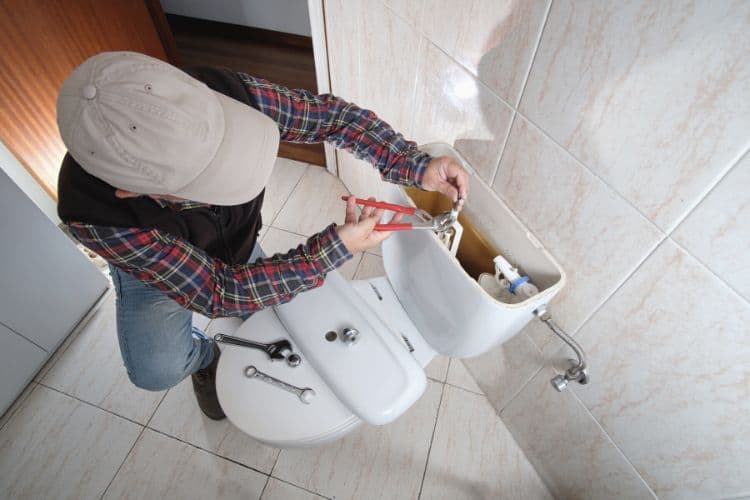
- Checking and adjusting the fill or flush valve components can easily be done by yourself without the need to call out a plumber.
- A broken flush valve can waste up to 250–4000 gallons of water every day, leading to a huge water bill.
- If you’re struggling to do this job alone, then calling a professional plumber may be cheaper in the long run.
4 Reasons Your Toilet Keeps Running
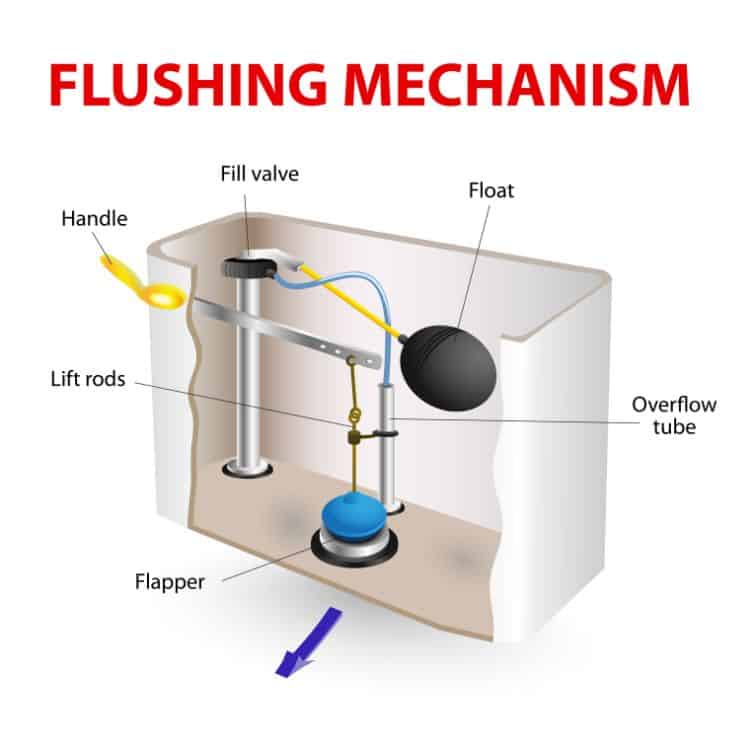
The flushing mechanism in your toilet has largely remained unchanged in the past century, comprised of a few simple components. Any of these can fail, but thankfully most are easy to fix.
1. Flapper Chain Is the Wrong Length
The flapper chain is an important component of any toilet, and it’s responsible for triggering the flush. If it’s too short, too long, or gets blocked, it can cause the flush valve to stay open, leading to a running toilet – something that nobody wants!
To ensure your chain is functioning properly, start by taking off the tank lid. You should locate a metal or plastic chain connecting the flush lever to the flapper – make sure it’s securely fastened to both components.
When inspecting the chain, make sure to take note of its length. If it’s too long, it may get caught underneath the flush lever or flapper and prevent it from forming a seal properly. Similarly, if it’s too short, it will hold the flapper open, filling the toilet bowl continuously.
If you find the chain is the wrong length, then adjust the length of the chain so that it is taut but not too tight. If there is excess chain use a pair of cutting pliers to trim and remove the excess. If the chain is damaged, rusty, or too short, you may need to replace it. A quick trip to your local hardware store should have you sorted with a new chain.
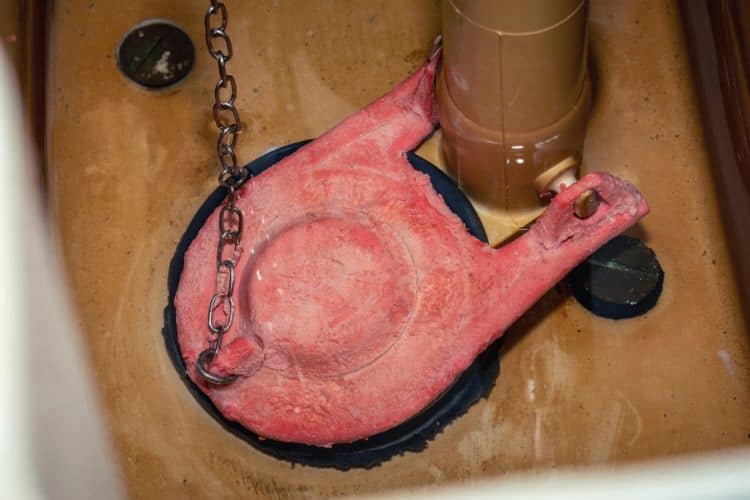
2. Leaky Flapper
The toilet flapper is a crucial part of the flush valve in your toilet, as it functions as a valve that opens and closes to control the flow of water from the tank into the bowl. As it’s made out of rubber, this component can become worn or damaged over time due to wear and tear.
You’ll find the rubber flapper at the bottom of the tank. Rubber can become brittle over time so look for any obvious signs of wear and tear, or discoloration. You can also test it by gently pressing it down – if water flow to the bowl stops, then you will need to replace the flapper.
Replacing a worn old flapper is fairly easy. Start by turning off the water supply to your John and flushing it to drain the tank of water. Next, disconnect the chain from the toilet flush lever and remove the old flapper by unhooking the arms from the base of the overflow tube.
Now comes the fun part – fitting in your new flapper! Fit the replacement flapper and reconnect the hooks to the hinges on your toilet overflow tube. Reconnect the chain to the toilet flapper and the flush handle, and flush the toilet. If the problem stops, then your old flapper wasn’t providing a good seal.
If you need to replace the flapper, it’s wise to take the old one with you to the store to ensure you get a suitable replacement.
3. Problems With Fill Height or the Overflow Tube
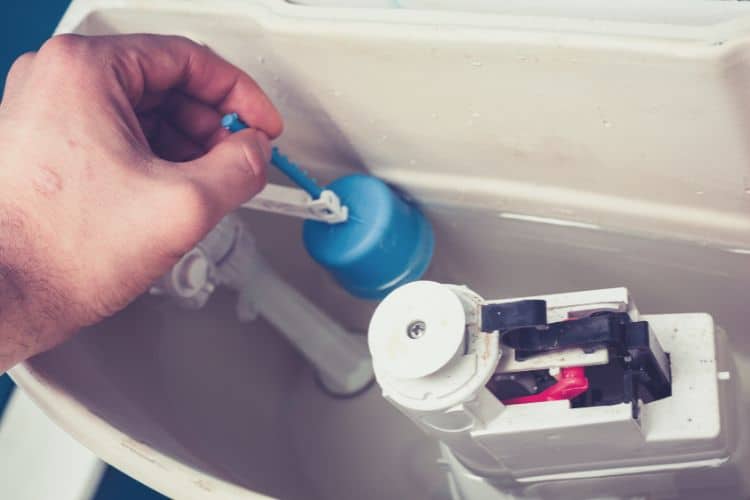
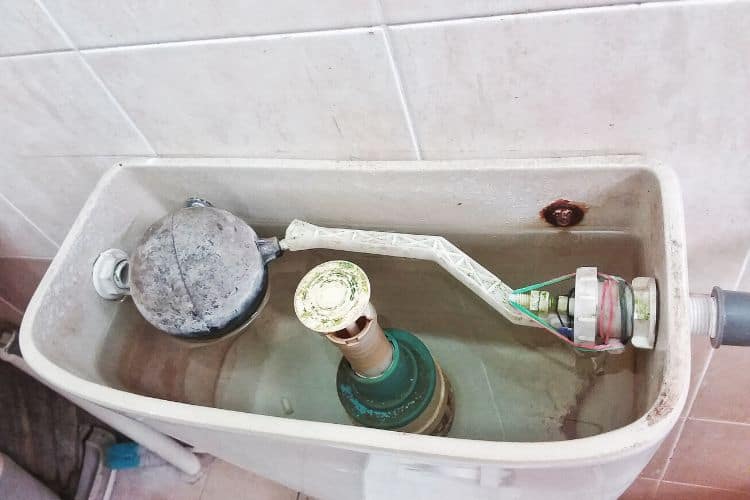
The height of the water level in most toilets is controlled by an adjustable float that is buoyant and floats on top of the water in the tank.
If the height of the float ball is set too low, then you’ll have a weak flush. On the other hand, if the float ball is set too high, then the water will rise above the top of the overflow pipe and will drain into the bowl. Either issue is normally easily spotted as soon as you take off the tank lid.
To check this, note where the float arm is level, and mark this point onto the toilet overflow tube. Perform a full flush and watch to see if the fill tube fills the toilet tank up to your mark. If the water level is not matching, then you will need to adjust the float height.
For older toilets, adjusting the float cup may require bending the brass rod or float arm attached to it. To make adjustments on newer toilets, push the clip, or turn the screw of the flush rod until it reaches the fill level mark near the fill valve. Once you’ve adjusted it to one inch beneath your marked level in the tank, it should ensure proper and efficient flushing each time.
Make sure the overflow tube is not damaged or too short as it is responsible for directing excess water from the toilet tank into the bowl. This tube runs down the center of the tank and connects to the fill valve, and should be positioned above the water level in the tank to prevent overflows.
If there are any issues with the tube height or its integrity, it will be necessary to replace the entire flush valve.
4. Check Fill Valve
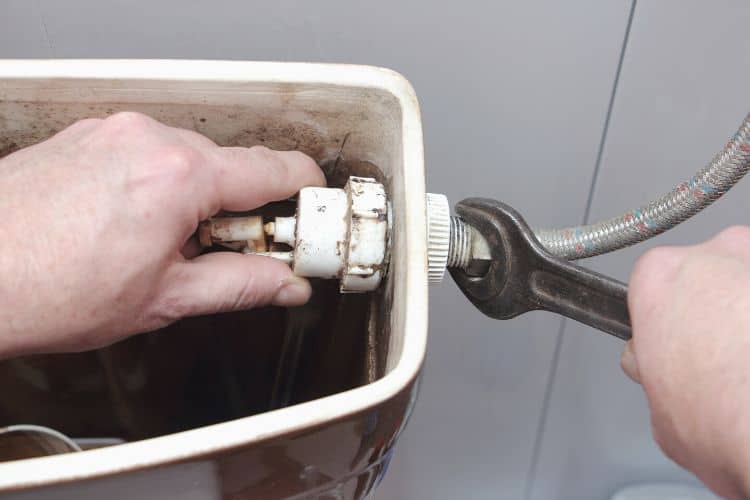
If the above solutions do not fix the issue, it may be necessary to clean or replace the toilet’s fill valve. The fill valve controls the water stream into your toilet and may need replaced every few years as the materials become brittle with age.
To replace the old fill valve, turn off the water supply to the toilet and hold down the flush handle to allow most of the water to drain from the toilet tank. Disconnect the water supply line from the fill valve by unscrewing the lock nut and use paper towels or a shop vac to remove any remaining water from the bottom of the tank.
Simply loosen the nut attaching the fill valve to the tank and remove it. To attach a new fill valve, reverse these steps and make sure to adjust the float according to instructions. Make sure to check the fill tube is securely fitted to the fill valve, and sits above the overflow tube. The refill tube is responsible for refilling the toilet bowl after each flush.
Now, reconnect the water supply and flush the toilet. Watch to ensure that the water level rises to the correct level, and that the fill tube refills the bowl. Keep making adjustments to the fill valve, refill valve, or float until everything is working correctly.
How a Running Toilet Tank Affects Your Water Bill

A running toilet can have a significant impact on your water bill. In fact, according to NYC’s water department, this problem can waste 250-4000 gallons of water per day! That’s enough to fill an Olympic swimming pool each year.
Even minor leaks in your toilet can add up to an additional $1,000-2,500 per year, with major leaks costing over $1,000 per month! These costs can quickly add up and impact your household budget.
In addition to the financial impact, running toilets also waste precious water resources. In states where water is a scarce resource, we strongly advise you deal with plumbing issues such as leaks quickly. While most flush system issues can be dealt with easily, the savings on your bills outweigh even the cost of buying a new flush toilet.
How to Fix Your Running Toilet for Good
Having a toilet that won’t stop running can be both a nuisance and financially draining. However, the necessary repairs are often simple enough to fix with a one-time purchase from your local hardware store.
Taking action now will save you money and help conserve water resources in your area. If you find that DIY methods didn’t work for you, don’t hesitate to call in an expert to handle the issue – it could potentially be cheaper than doing it yourself.
We appreciate feedback so please let us know if you have any questions or comments below.